

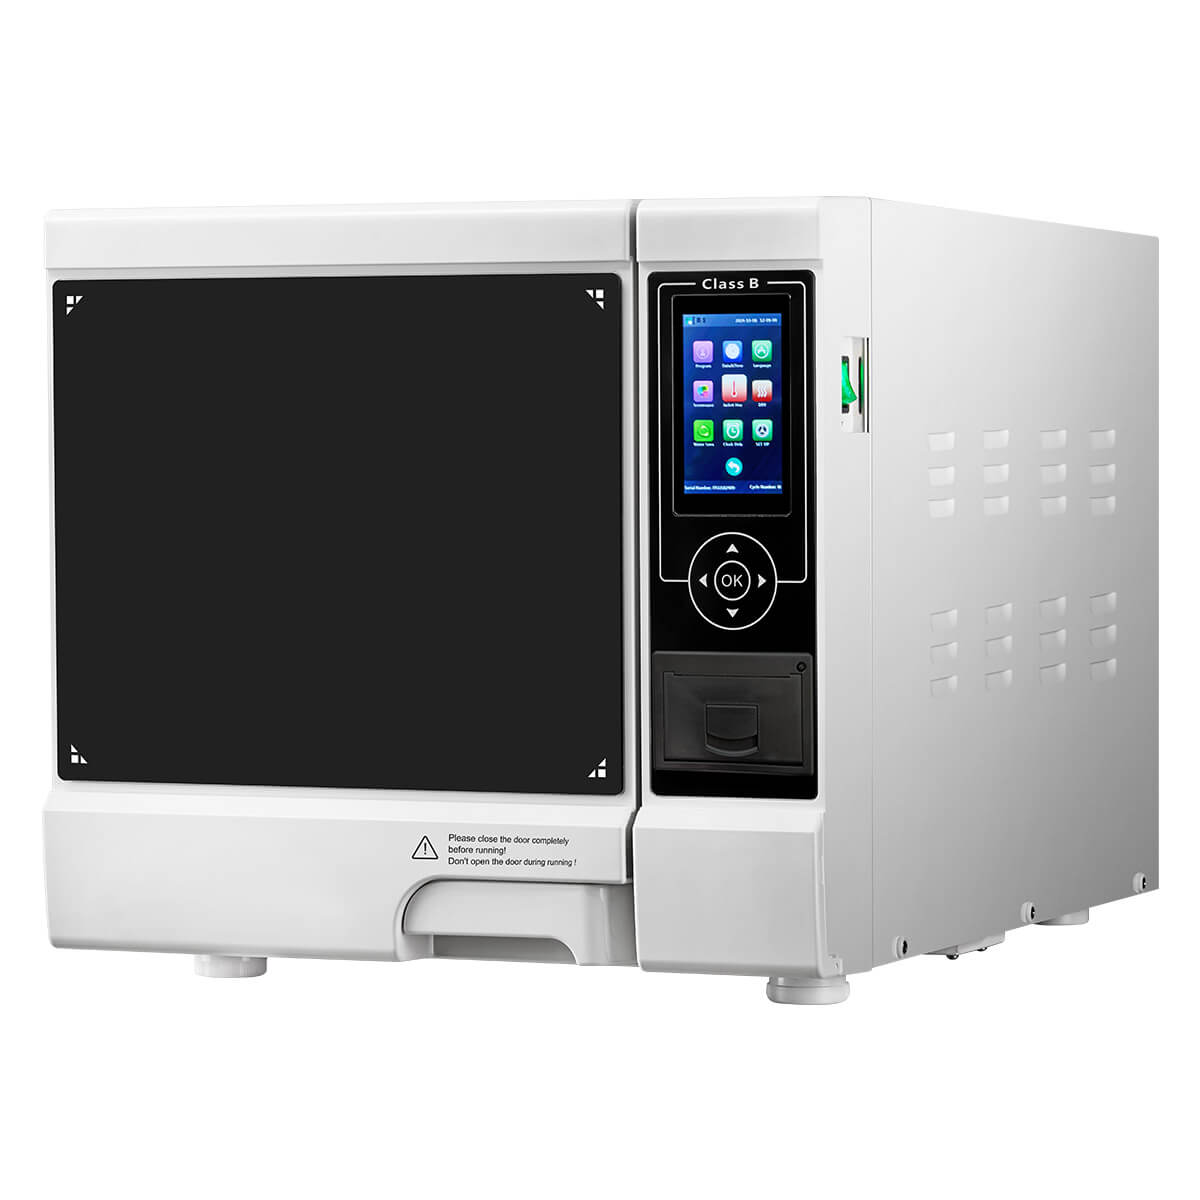
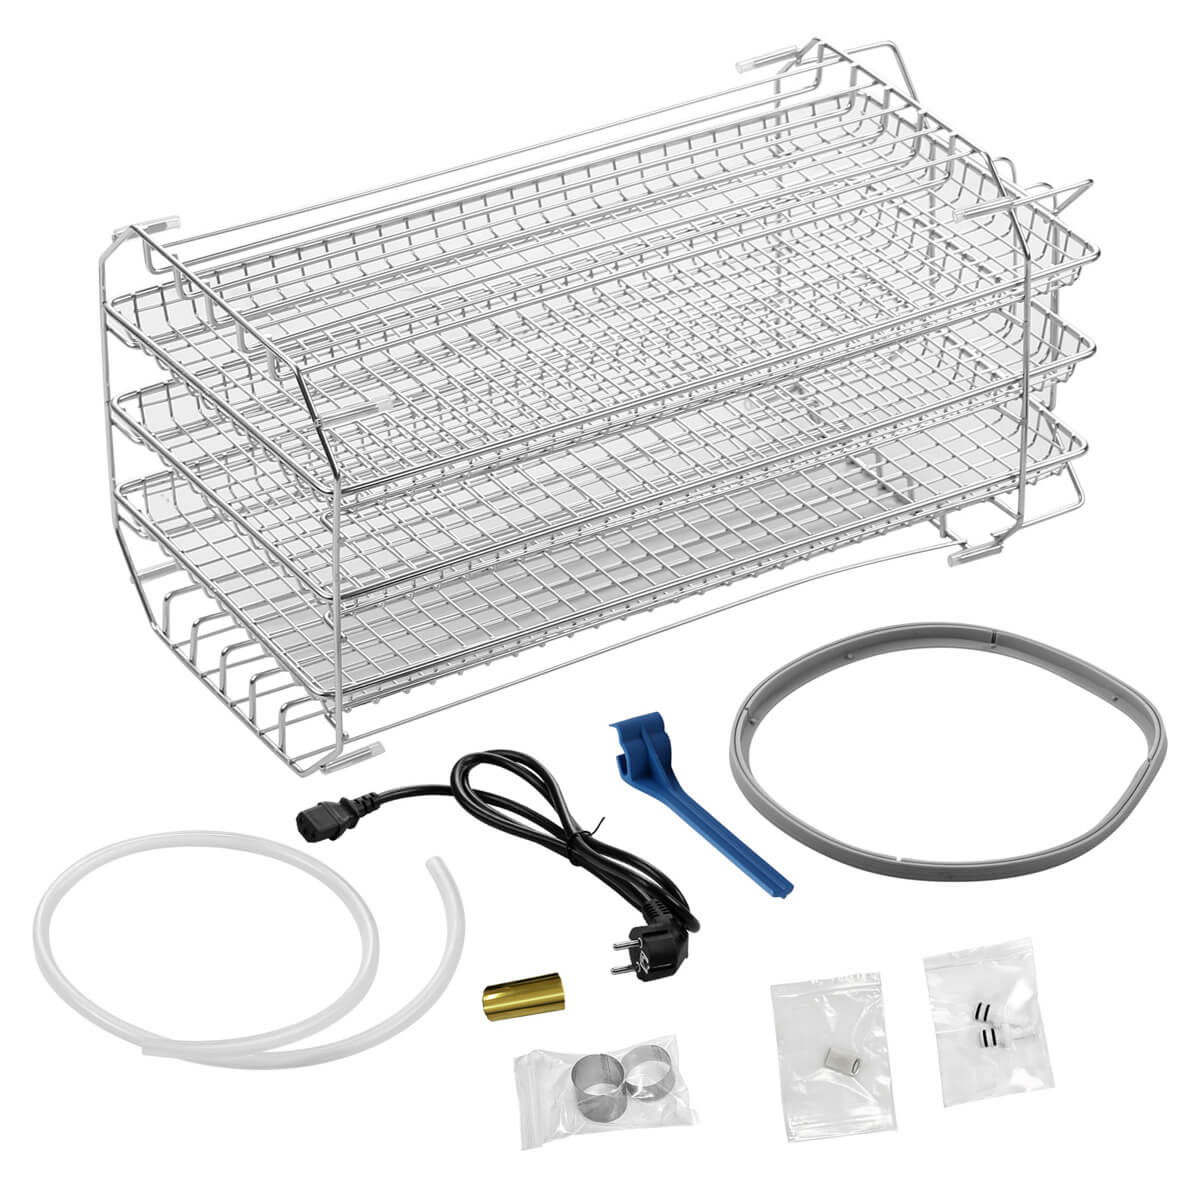
Dental Autoclave Steam Sterilizer 17L Table Top LCD Built-in Printer Class B Dry Function
Choose your option
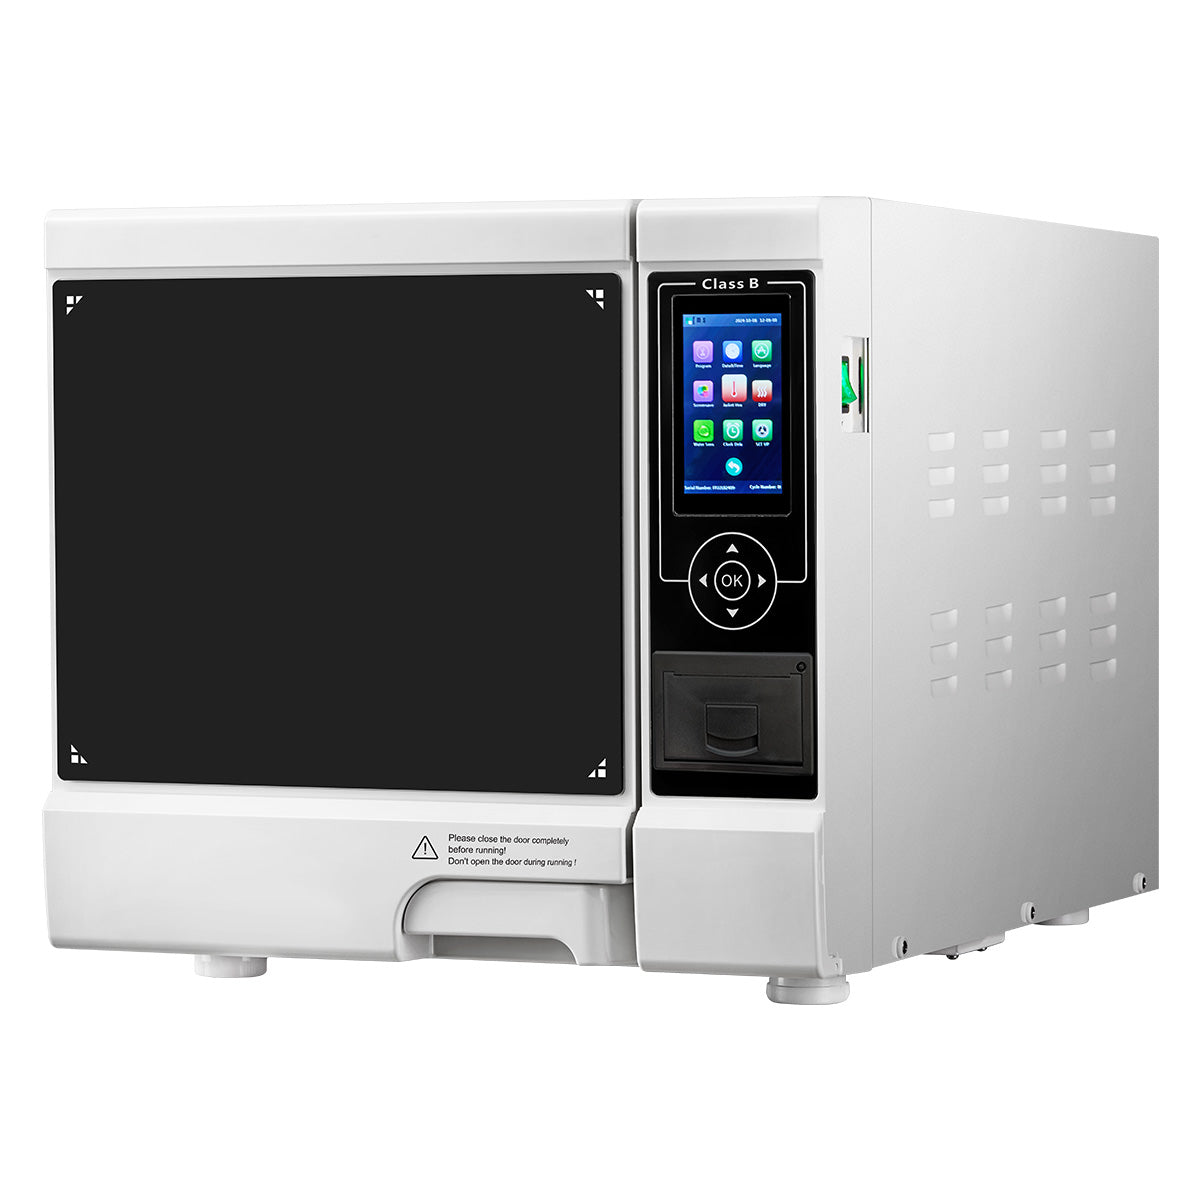
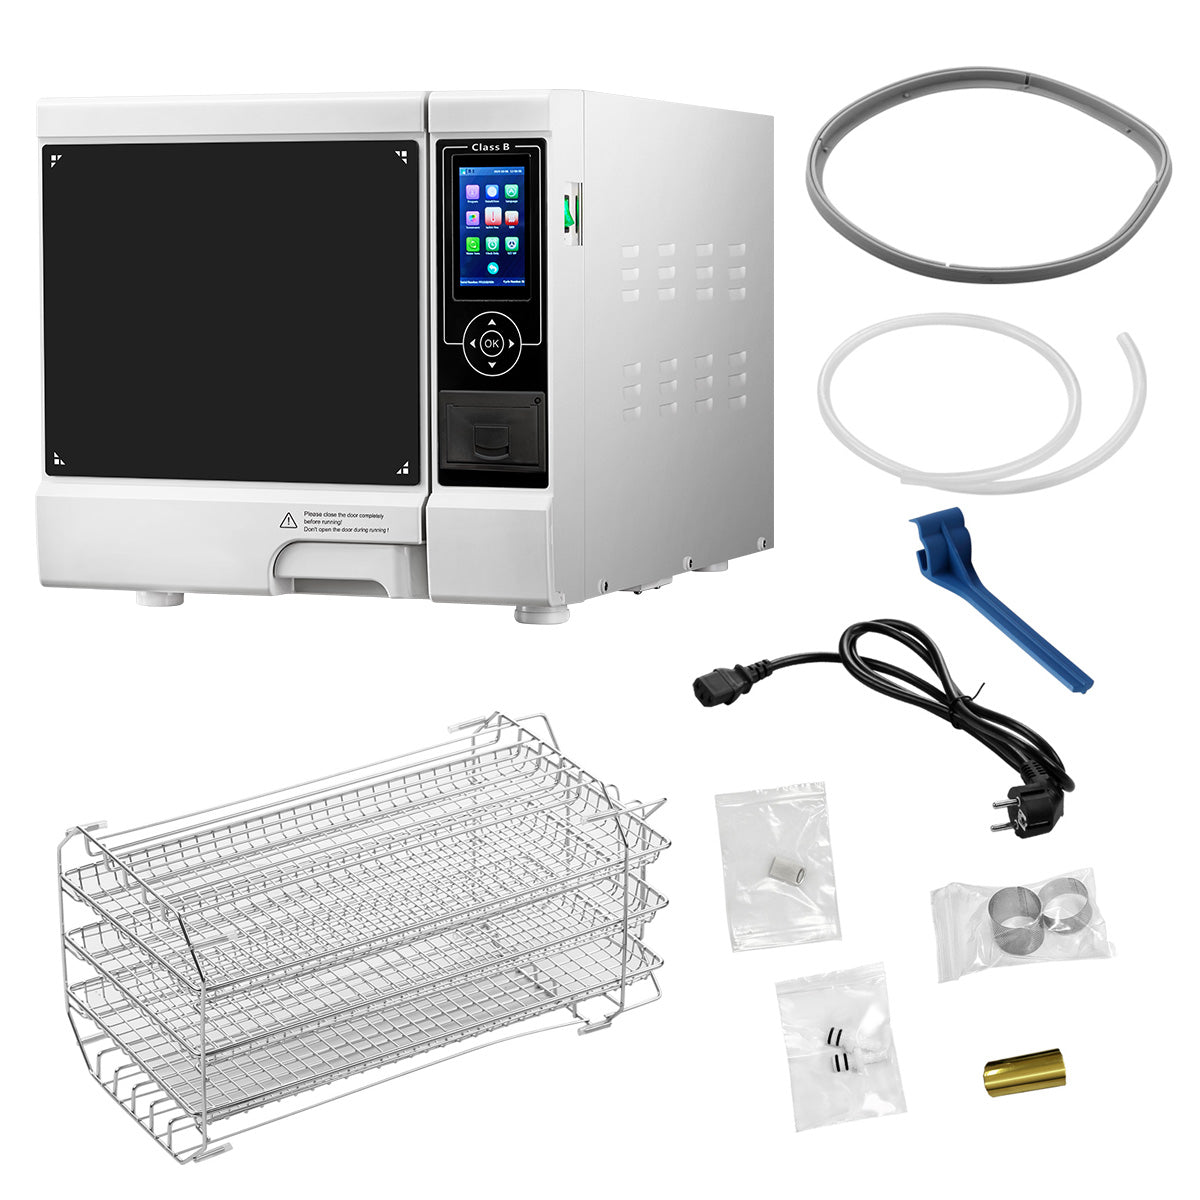
Dental Autoclave Steam Sterilizer 22L Table Top LCD Built-in Printer Class B Dry Function
Choose your option


Dental 22L Autoclave Steam Sterilizer LCD Built-in Printer Table Top Class B Dry Function
Choose your option


Dental 22L Class N Autoclave Steam Sterilizer LCD Table Top Dry Function
Choose your option


Tuttnauer 2540M Manual Tabletop Autoclave Sterilizer 23L 10"x19" Chamber
Choose your option
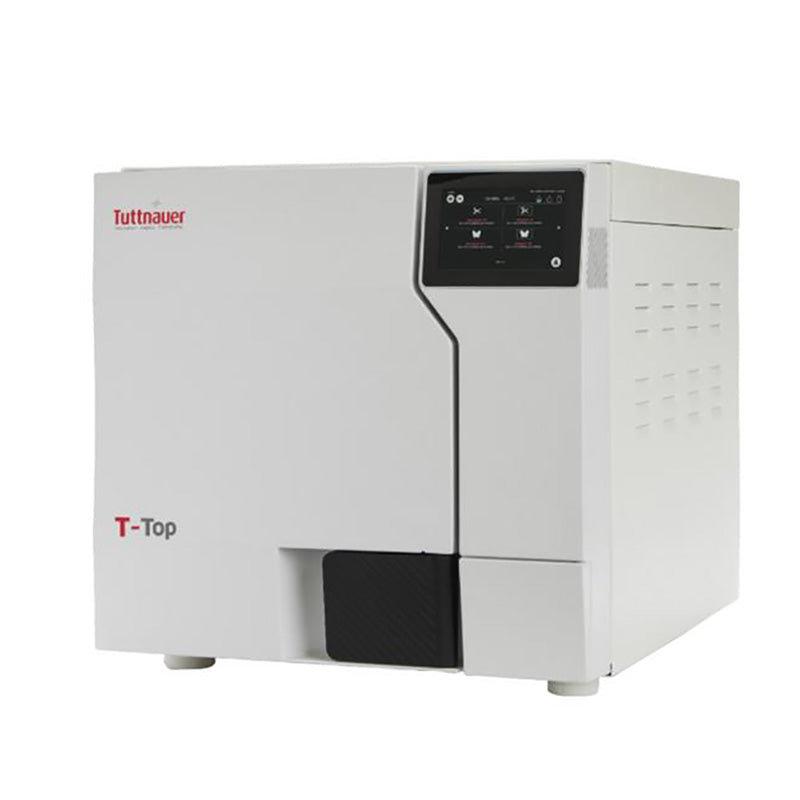

Tuttnauer T-TOP Automatic Tabletop Autoclave Sterilizer 21L 10"x18" Chamber
Choose your option


Dental Crepe Paper CSR Wraps Autoclave Sterilization Wrap Sheets 60gsm 100pcs/PK
Choose your option


Dental SMMS Non-Woven CSR Wraps Autoclave Sterilization Wrap Sheets 60gsm 50pcs/PK
Choose your option
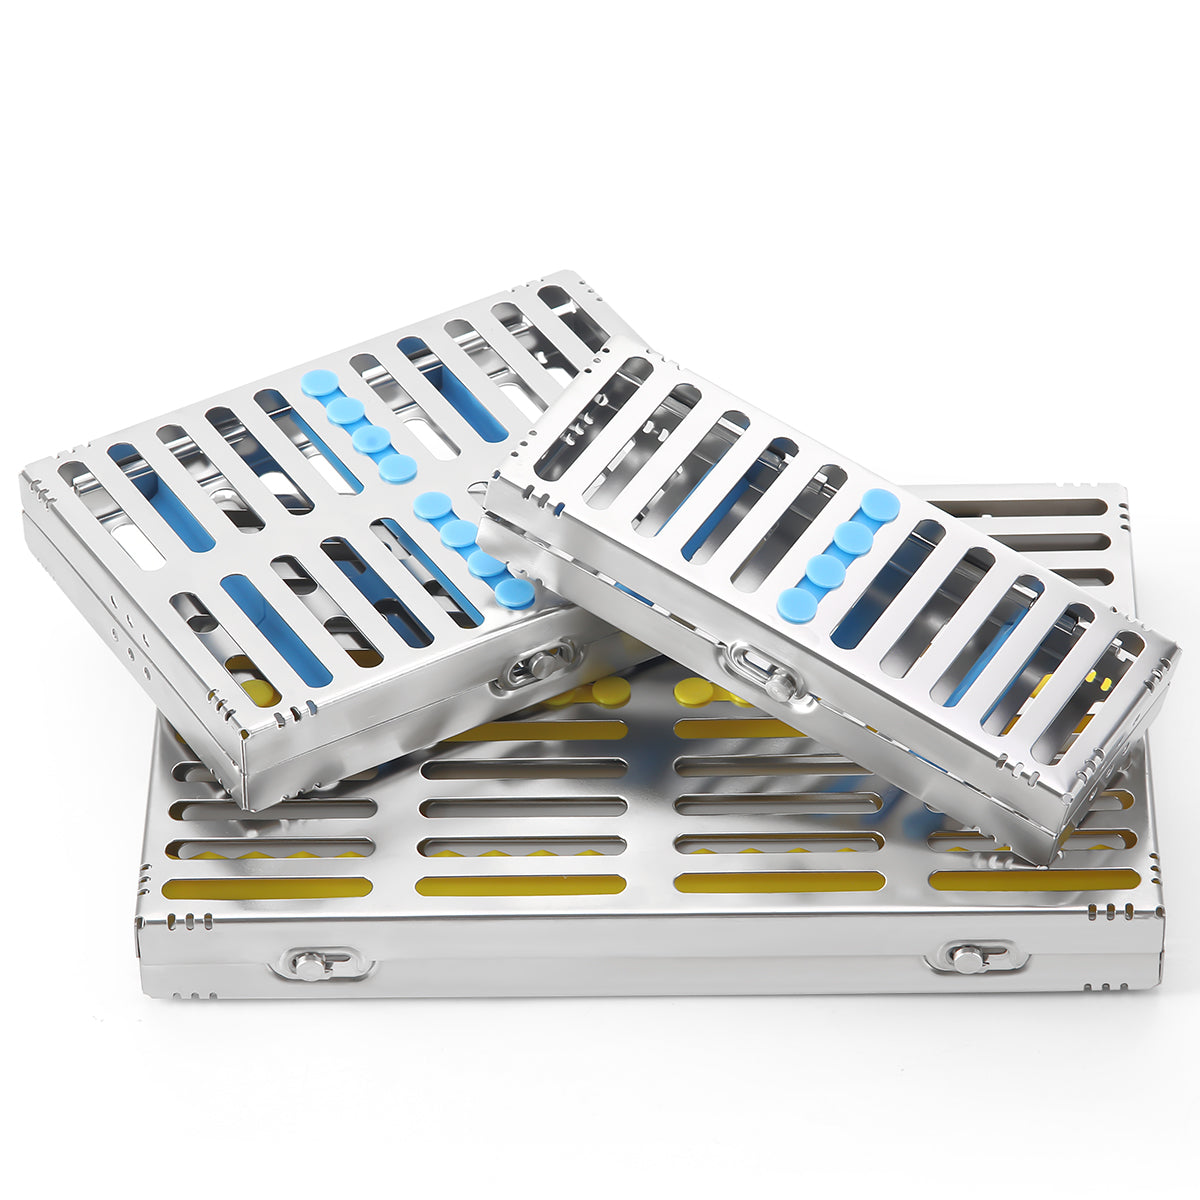
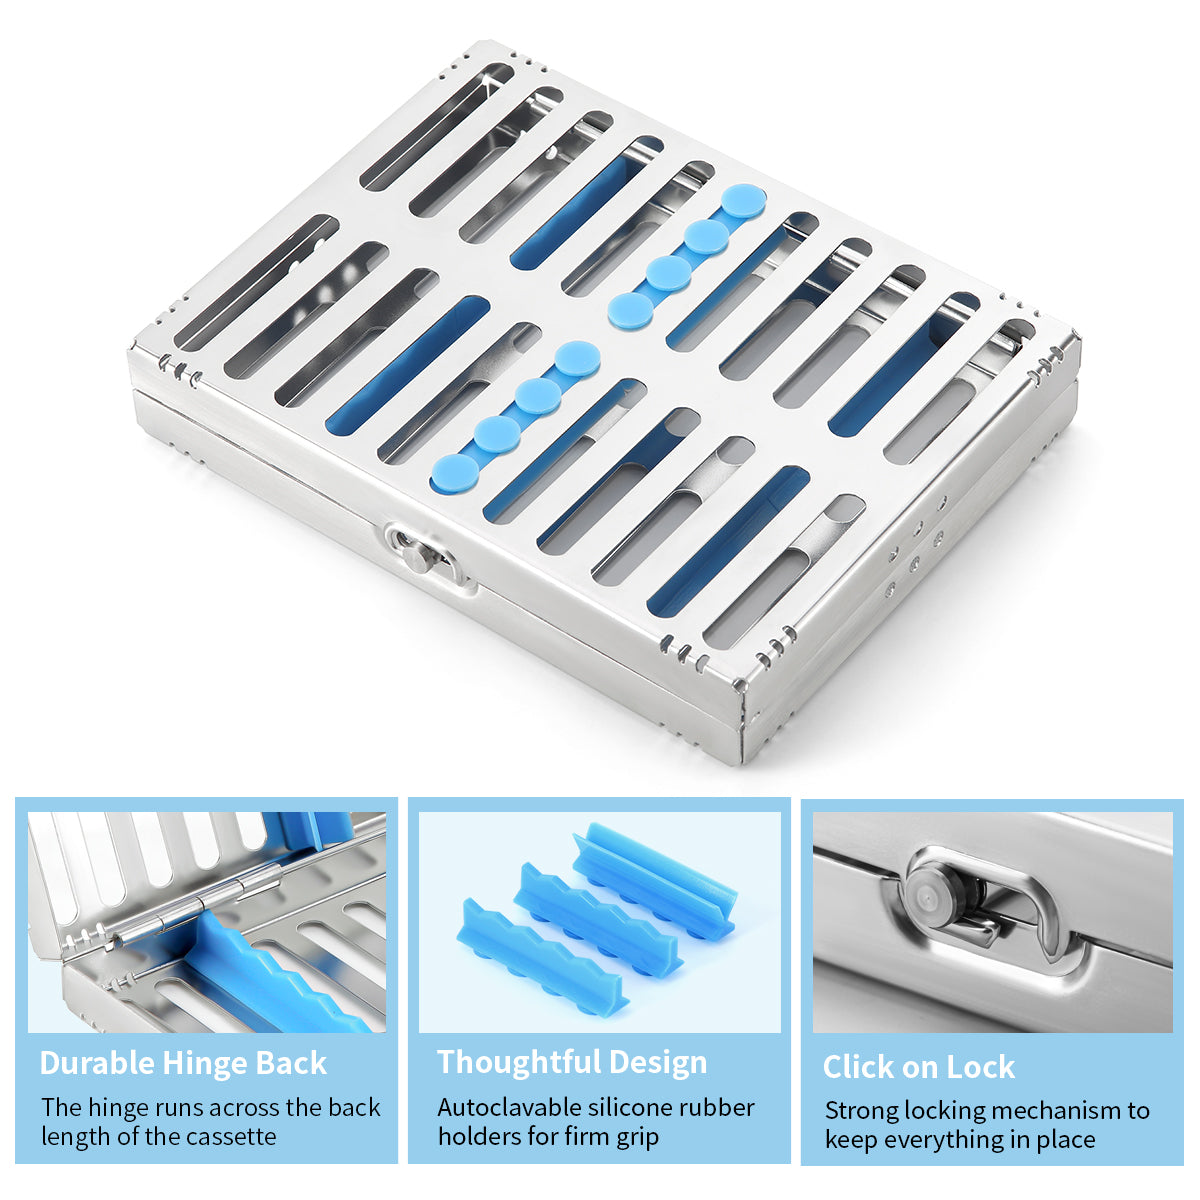
Dental Instrument Disinfection Box Sterilization Rack Autoclavable Tray 5 /7 /10 /20 Grids
Choose your option


Dental Self-Sealing Sterilization Pouch 7 Sizes 200pcs/Box
Choose your option


Dental Self-Sealing Sterilization Pouch 2.25”x5” 200pcs/Box
Choose your option


Dental Self-Sealing Sterilization Pouch 3.5”x10” 200pcs/Box
Choose your option


Dental Self-Sealing Sterilization Pouch 3.5”x6.5” 200pcs/Box
Choose your option


Dental Self-Sealing Sterilization Pouch 5.25”x10” 200pcs/Box
Choose your option


Dental Self-Sealing Sterilization Pouch 2.75”x10” 200pcs/Box
Choose your option


Dental Self-Sealing Sterilization Pouch 5.25”x11” 200pcs/Box
Choose your option


Dental Self-Sealing Sterilization Pouch 7.5”x14” 200pcs/Box
Choose your option

Dental Class B 22L Autoclave Steam Sterilizer LCD Built-in Printer - Refurbished
Choose your option
Sterilizer & Accessories FAQs
1. How to Choose the Right Sterilization Pouch Size?
1. How to Choose the Right Sterilization Pouch Size?
Based on instrument length: instruments should not exceed 3/4 of the pouch body when inserted, with space reserved at the sealed end.
Small instruments like burs: 2.25 × 4 inchor larger
Long instruments: choose 2.75 × 10 inch or 3.5 × 10 inch
Instrument trays: 10 × 15 inch or larger
2. What is the Difference Between Steam Sterilization and EO Sterilization?
2. What is the Difference Between Steam Sterilization and EO Sterilization?
Steam (Autoclave)
Uses high heat + pressure: 121°C or 134°C
Fast, cost-effective, most common in clinics
Best for heat-tolerant instruments (metal, glass)
EO (Ethylene Oxide)
Low-temperature gas sterilization
Suitable for heat-sensitive instruments (plastics, electronics, delicate optics)
Longer cycle time and aeration period required
Our Sterilization Pouches feature dual-indicator zones — readable for both steam and EO sterilization methods, giving clinics flexibility without needing separate pouch types.
3. How Often Should Dental Sterilizers Be Tested and Monitored?
3. How Often Should Dental Sterilizers Be Tested and Monitored?
Monitoring ensures that sterilization is reliable. This involves mechanical checks (pressure, temperature, and cycle time), chemical indicators (placed inside and outside packages), and biological tests (spore tests). Biological testing should be performed weekly to confirm sterilizer effectiveness.
Documentation is equally essential here. Each sterilization load should be logged with the date, cycle number, the sterilizer used, the staff member responsible, and the results of indicators. This helps with audits, compliance, and patient safety traceability.
After sterilization, instruments should be stored in a clean, dry space, preferably in closed cabinets away from sinks or sources of moisture. Adopting a “first-in, first-out” approach ensures older packs are used first. Before opening, always re-check the package for integrity.
4. What is the Best Loading Guide for Dental Sterilizers?
4. What is the Best Loading Guide for Dental Sterilizers?
Do not overload: Leave enough space for steam or heat to circulate freely around every pouch.
Open jointed items: Keep hinges and scissors in an open or unlocked position.
Face cups down: Place any hollow utensils or containers upside down so water cannot pool.
5. What Should I Do if There's a Positive Spore Test?
5. What Should I Do if There's a Positive Spore Test?
If the mechanical (e.g., time, temperature, pressure) and chemical (internal or external) indicators suggest that the sterilizer is functioning properly, a single positive spore test result probably does not indicate sterilizer malfunction.
First, remove the sterilizer from service and review the sterilization operating procedures to determine potential reasons for the failed test.
Recall and quarantine any implantable items and do not use them until they are shown to be sterile.
Items other than implantable items do not necessarily need to be recalled.
Repeat the spore test immediately using the same cycle that produced the positive spore test.
If the result of the repeat spore test is negative and operating procedures were correct, then the sterilizer can be returned to service.
If the repeat spore test result is positive, remove the sterilizer from service and do not use until it has been inspected or repaired and re-challenged with spore tests in three consecutive fully loaded chamber sterilization cycles.
When possible, items from suspect loads dating back to the last negative spore test should be recalled, rewrapped, and re-sterilized.
6. Do I Have to Perform a Spore Test if I Don't Use My Sterilizer on a Full Time Basis?
6. Do I Have to Perform a Spore Test if I Don't Use My Sterilizer on a Full Time Basis?
7. What are the Key Definitions, Classifications, and Sterilization Methods for Dental Instruments?
7. What are the Key Definitions, Classifications, and Sterilization Methods for Dental Instruments?
Critical instruments
These are tools that penetrate soft tissue, bone, or enter the bloodstream, such as surgical instruments. They pose the highest risk of infection and must always be sterilized after each use.
Semi-critical instruments
These come into contact with mucous membranes or non-intact skin, such as dental mirrors, impression trays, and reusable handpieces. Most require sterilization, but in some cases, high-level disinfection may be acceptable.
Non-critical instruments
These only touch intact skin and do not penetrate tissue, such as blood pressure cuffs or external dental equipment. They usually require only cleaning or intermediate to low-level disinfection.
8. What are the Detailed Steps for Sterilization?
8. What are the Detailed Steps for Sterilization?
Step 1: Remove Visible Debris
Instruments should be handled promptly after use so blood, tissue, or other organic matter is cleared away as soon as possible. This might involve pre-soaking or using an instrument sterilant to prevent contaminants from drying onto instruments.
Step 2: Clean Instruments Thoroughly
Automated methods like ultrasonic cleaners or washer-disinfectors are preferred because they reduce manual handling and risk of injury. If manual cleaning is required, use long-handled brushes, detergents, and flowing water to minimize splashing. Once cleaned, instruments should be rinsed thoroughly to remove any residue.
Step 3: Dry Before Packaging
After cleaning and rinsing, instruments must be completely dried. Moisture can interfere with packaging and sterilization. Only when fully dry should they be packaged or wrapped. Packaging materials need to be compatible with the sterilizer type, and hinged instruments should be left unlocked and open so steam or heat can reach all surfaces.
Sterilization pouches, also known as autoclave pouches, come in heat-sealed or self-sealing types and are commonly used at this stage to maintain a sterile barrier while providing clear indicator markings for cycle verification.
Step 4: Load Instruments into the Sterilizer
Follow the sterilizer manufacturer’s cycle settings for temperature, pressure, and time. Avoid overloading chambers and arrange packages so that steam or disinfectant can circulate properly. Chemical indicators should be placed inside each package, with external indicator tape to confirm exposure.
Step 5: Run the Sterilization Cycle
Whether using a steam autoclave, dry heat sterilizer, or chemical vapor sterilizer, always rely on validated settings. After the cycle is complete, allow instruments to cool and dry fully before handling to prevent contamination or packaging damage.
Step 6: Inspect Sterilized Packages
Before use or storage, check that packages are intact, indicator colors have changed, and there are no tears or moisture. Any compromised packs must be reprocessed.